Photos of LTJG Fryatt's DB Attack


          The first four pictures were taken by J. H. SULLIVAN, ARM3c, radioman in Lt.(jg) FOWLER's plane of the attack by Lt.(jg) FRYATT.  
     
 
Picture #1 - shows the U/B trailing oil and zig-zagging violently.
     
Picture #2 - shows the exploding depth charges, apparently directly under U/B's conning tower.
     
Picture #3 - shows the spray dying down.  From the course the U/B was steering, as shown at the top of the photo, it would seem to be a very difficult target, but apparently Lt.(jg) FRYATT, dropped his charges with great accuracy.
     
Picture #4 - shows how the U/B began sinking by the stern after this attack.  It appears to be under water for almost its entire length in this picture.
     
Picture #5 - however, taken by the gunner in Lt.(jg) FRYATT's plane, shows the U/B down by the stern only at this point.


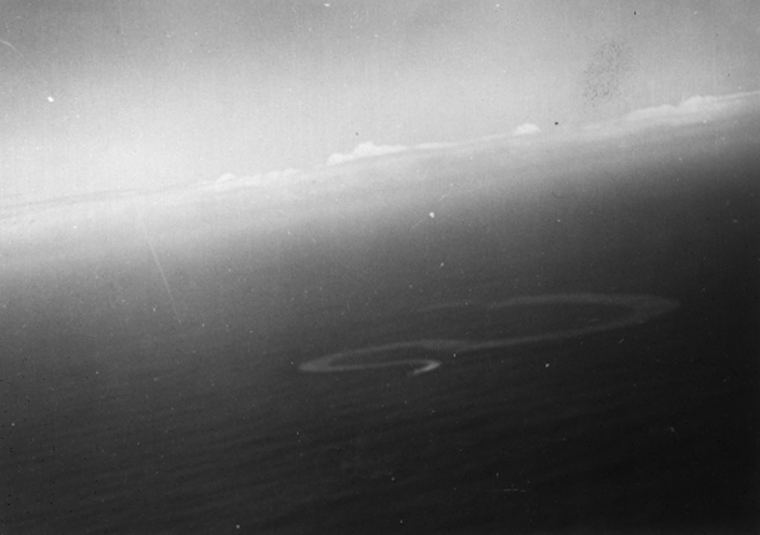
Photo #1 - U-boat trailing oil, zig-zagging after LTJG Stearns and Fowler's attacks

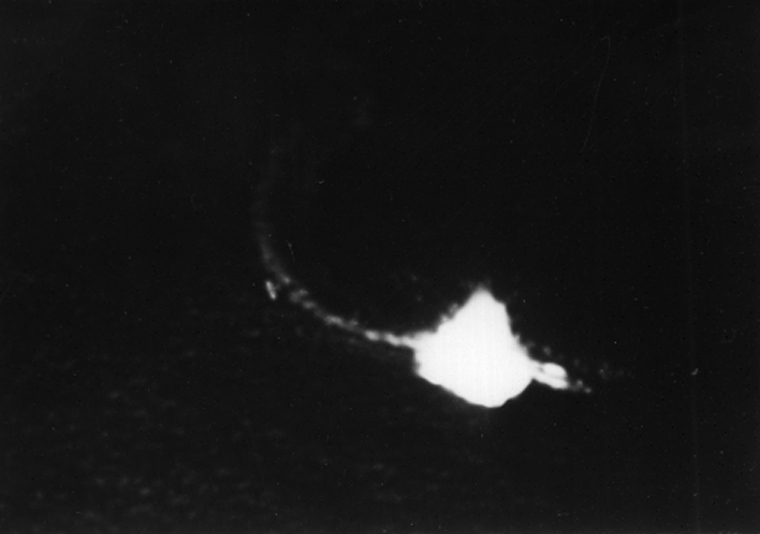
Photo #2  DB's explode

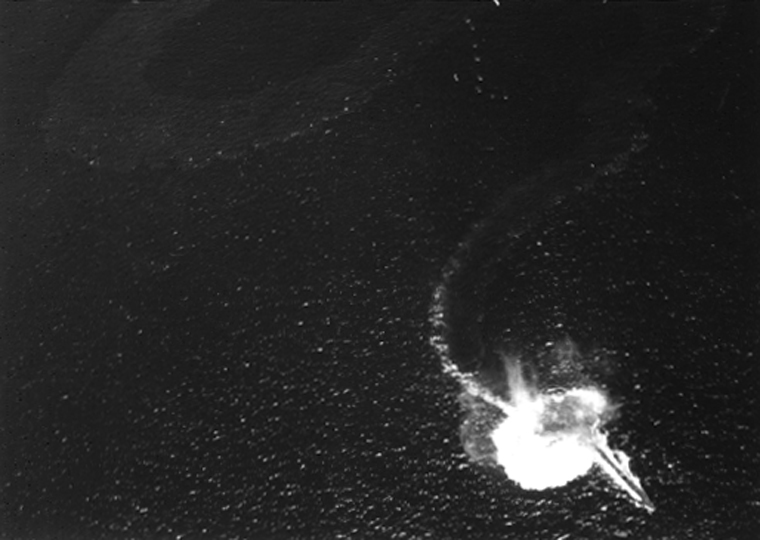
Photo #3 - DB plume subsides

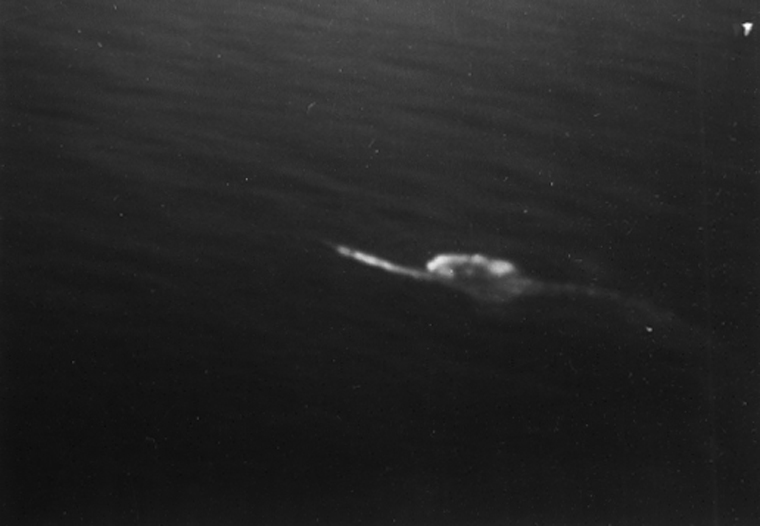
Photo #4  U-boat is almost completely submerged immediately after LTJG Fryatt's attack

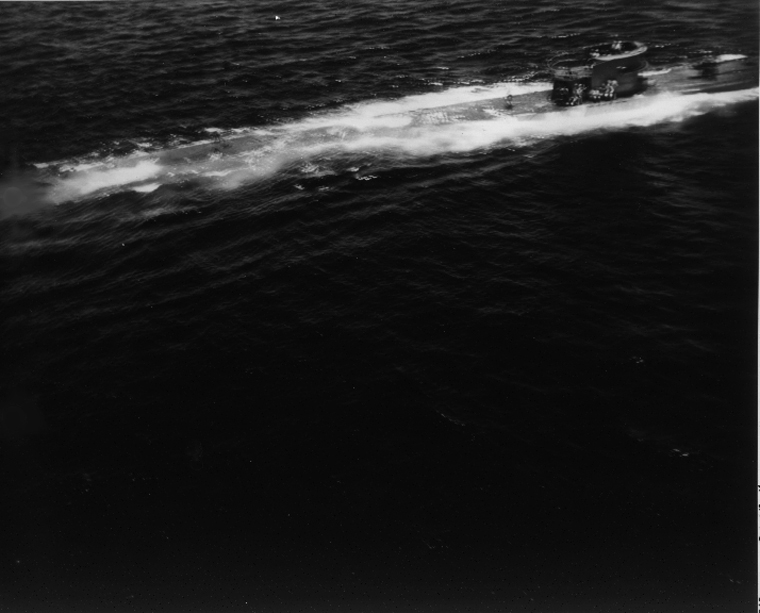
Photo #5  Moments later, U-boat is surfaced, but down by the stern